Check customers in with a QR code scanner
When a busy morning brings a queue to the front desk, looking up each booking by name slows everyone down. Since September, you can check customers in by scanning the QR code in their booking confirmation email with a handheld scanner. They’re checked in straight away and their booking appears on screen.
How it works at the front desk
Plug a handheld QR code scanner into your front desk computer, open the check-in scanner and leave the page open. When a customer arrives, they show the QR code from their booking confirmation email and you scan it.
- The customer is checked in straight away.
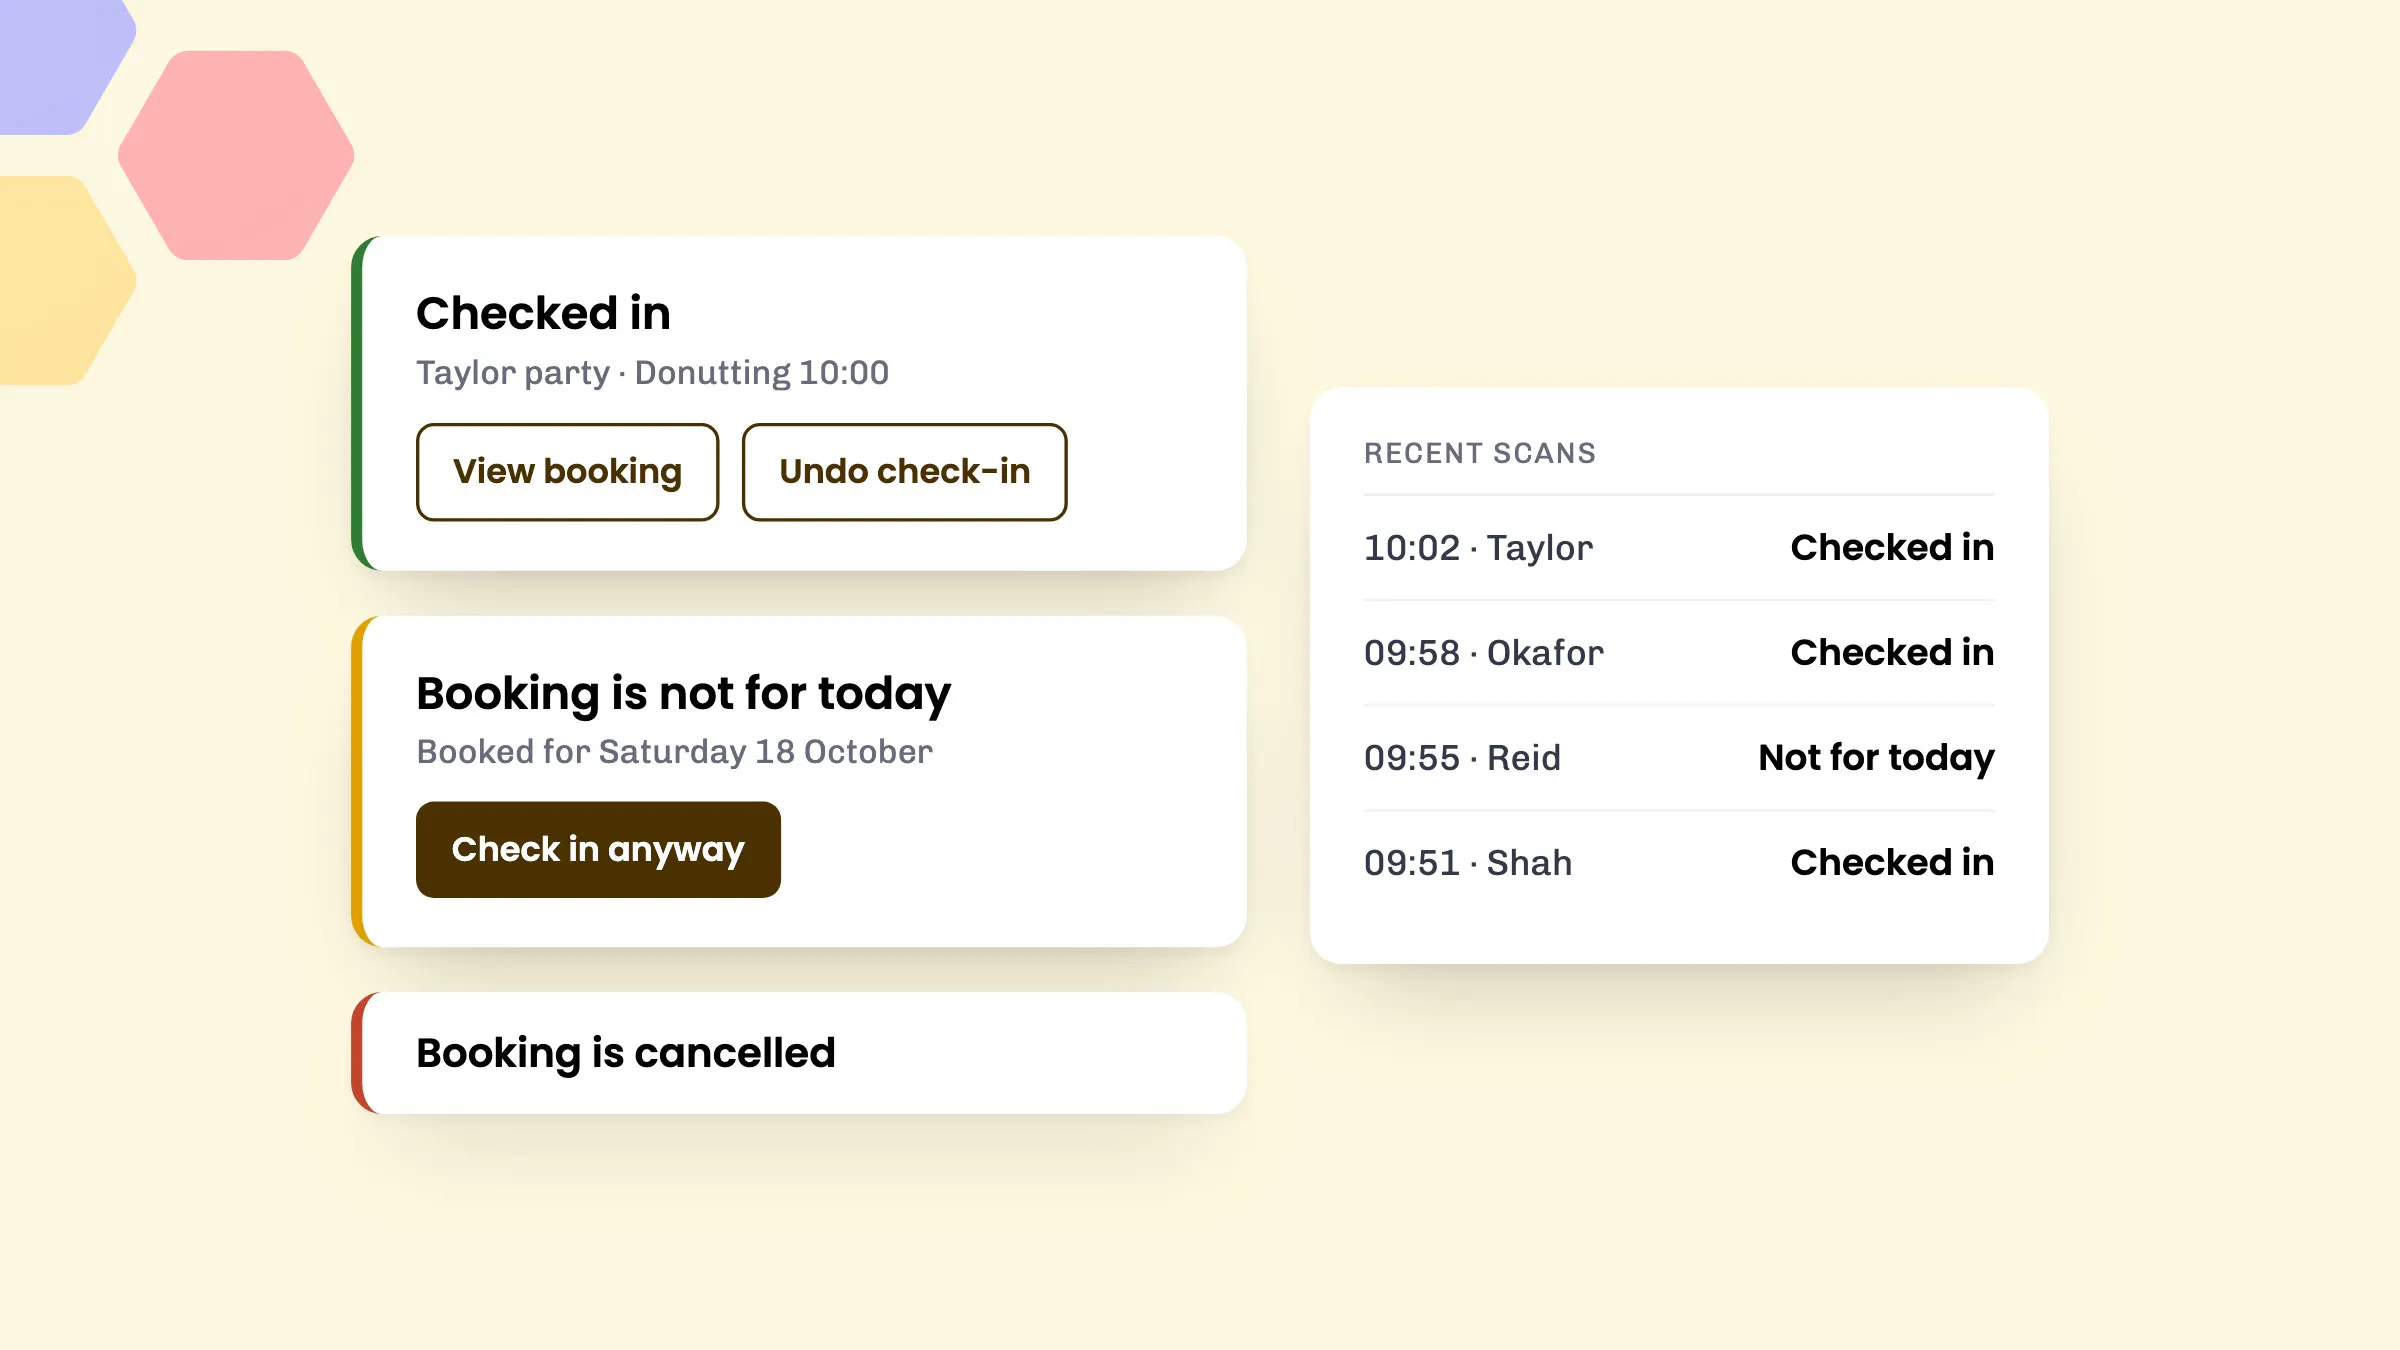
- Their booking appears on screen, with a View booking button if you need the full details.
- A Recent scans list shows the time, customer and result of each scan, so you can glance back at who has arrived.
- Scanned the wrong code? Choose Undo check-in to take it back.
Multi-day stays count as today for the whole stay, so accommodation guests can be scanned on any day they’re with you.
When a code isn’t checked in
The scanner won’t check in a booking that doesn’t look right. It flags it instead, so you can decide what to do.
- Bookings for another day show as Booking is not for today. If the customer has turned up on the wrong day and you’re happy to take them, choose Check in anyway.
- Cancelled bookings show as Booking is cancelled.
- Codes we don’t recognise show as Not an eola check-in code, and codes from another centre are flagged too.
- If the party is already checked in, the scanner tells you and shows the time they arrived.
Member QR codes
Each member on a membership has their own QR code. Scanning it brings up their membership card, with the member’s name, the membership and a View membership button. If the membership isn’t currently active, the scanner says so. A member’s code identifies the member; it doesn’t check them in to a session.
Which scanner do I need?
Almost any handheld QR code scanner works out of the box. The scanner types the code in like a keyboard would, so there’s nothing to install.
No scanner yet? The check-in scanner can use your computer’s or tablet’s own camera instead. Hold the customer’s QR code up to it. A scanner is quicker when the front desk is busy.
How to set it up
Customer check-in is part of the Pro plan.
- Go to Toolset > Apps, select Check-in and choose Add to eola.
- Go to Toolset > Widget > Widget settings. Under Customer Experience, choose Enable QR code check-in and save. QR codes are then added to your booking confirmation emails.
- Plug your scanner into the front desk computer.
- Select Check-in at the top of your dashboard to open the check-in scanner, and leave the page open.
- Scan the QR code in each customer’s booking confirmation email as they arrive.
For more on switching apps on and off, read Use the eola App Store in our help centre.
Good to know
- Scans only count while the scanner page is active. If you’ve been working in another window, click anywhere on the page to start listening again.
- You need to be signed in to eola on the computer or device you scan with.
- You can still check parties in by hand from the session’s booking page in your calendar.
- QR codes are only added to booking emails while QR code check-in is switched on in Widget settings.
See eola in action
Want to see how this could work for your business? Book a demo or get in touch with our team.